TO LOGIN & MAKE CHANGES TO YOUR WORDPRESS INSTASITE

Click "Webhosting Management" and select the domain your instasite is on and click the green arrow

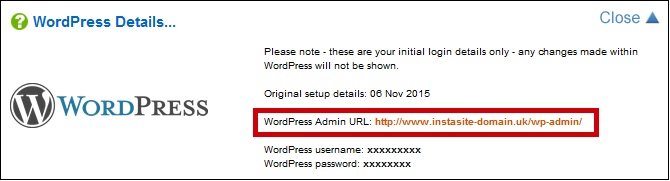
Click "Wordpress Details" and take note of your username and password

Click on the WordPress Admin URL
This is where you can change and manage your website
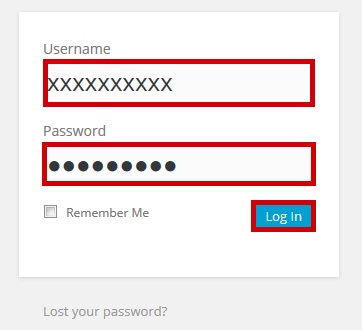
Enter the details from step 3 above and click "login"
Information
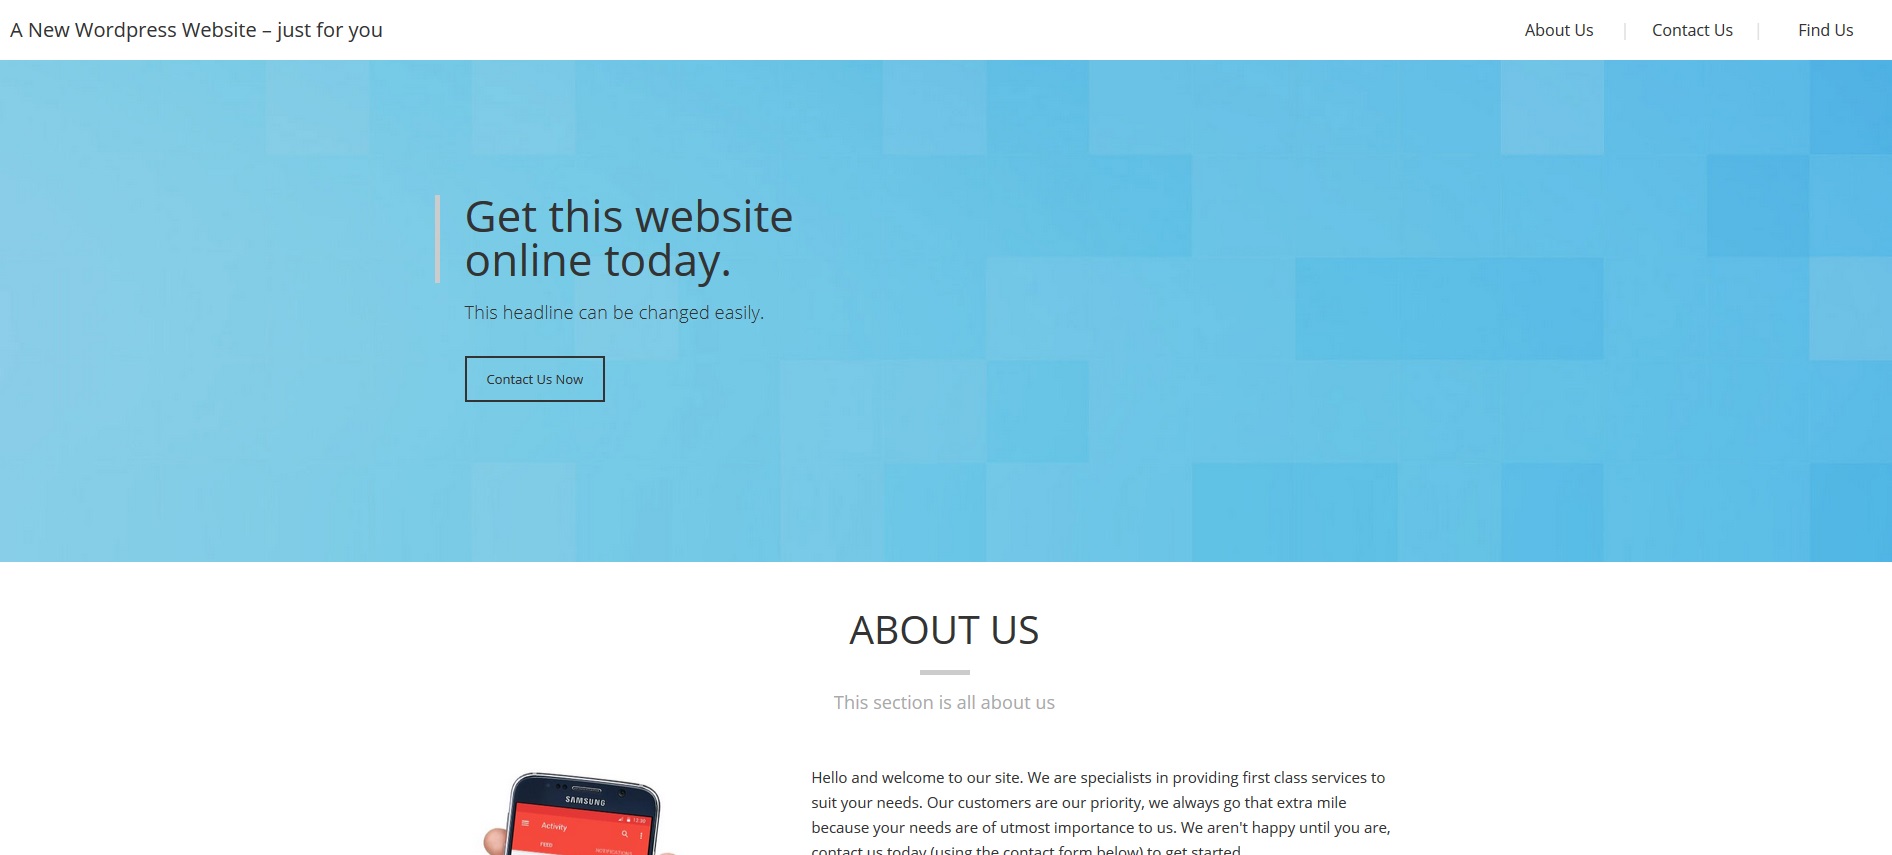
When you login to WordPress you will be able to start making changes to your website.
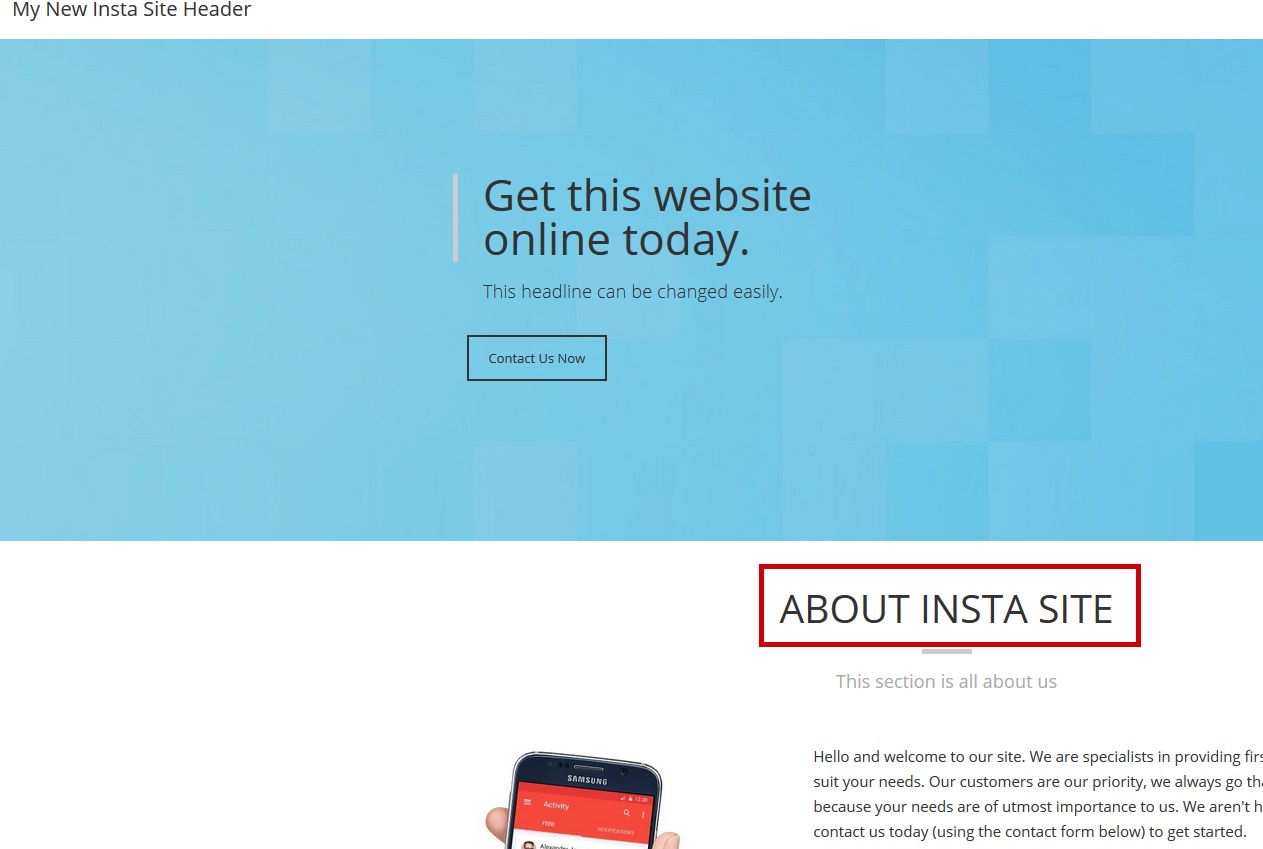
We suggest you open your site in a separate tab so you can track any changes made. It will look something like this
To make changes to the header

Click on SETTINGS & GENERAL in the menu in your WordPress menu.
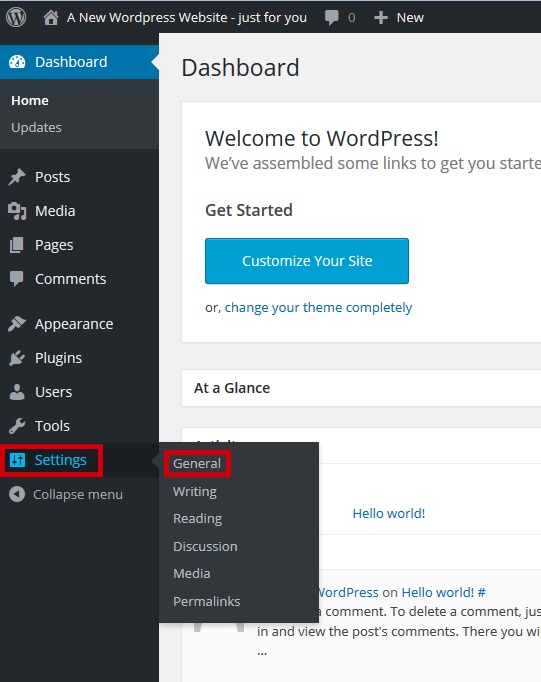
Update your header and click SAVE CHANGES

Refresh your website to ensure the update worked 
To make changes to the other sections of your Insta Site
Click on Pages then All Pages on the left hand navigation

Click on "Home"
This is your full site

In the top right hand side of the screen – click on SCREEN OPTIONS

Ensure the checkbox “CUSTOM FIELDS” is checked, then click SCREEN OPTIONS again to hide the menu

Within the custom fields section, you can edit various sections of your site, once the change has been made click "Update"
You can get the HTML colour codes from this site - http://html-color-codes.info/
Information on how to upload images can be found here


Refresh your website to ensure the update worked