USING EMAIL
Q Receiving Email
Select "Email" and click on your "Inbox".

Click on the email you want to view, and the content is displayed under the reading pane. (New or unread emails will be highlighted in BOLD).

Q Sending a new email
Select "Email" and then click "Compose".

Fill in the relevant fields and click "Send" to delever the message.

If you select the "Sent Objects" folder, you can view all "Sent Mail".

QReply to an email
Select "Email" and click on your "Inbox".

Select the email you want to reply to and click "Reply".

Enter content for your reply and click "Send".

Q Forward an email to another recipient
Select "Email" and click on your "Inbox".

Select the email you want to forward to and click "Forward".

Enter a recipient for the forwarded email and content for your reply and click "Send".

Q Delete an email
Select "Email" and click on your "Inbox".

Select the email you wish to delete and click "Delete".

Select the "Trash" folder to view "Deleted Emails".
Emails in your Trash Folder count towards your Quota.

To completely remove emails from the server, select the mail you wish to delete from the "Trash" folder and click "Delete".
Emails deleted from the Trash folder can not be restored.

Click "Delete" to confirm you wish to delete the email from the server.

Q Add a Folder
Select "My Folders" configuration icon and click "Add New Folder".

Name your folder and click "Add".

You can now view your folders under the "My Folders" section.

Q Move an email to a folder
Highlight the email you want to move and click "More" then "Move".

Select the folder you want to move the email to and click "Move".

The email should now be in your selected folder.

Q Create an email rule
Select the "Configuration" Icon and click "Email" and then on "Filter rules".

Select "Email Filter" then "Add New Rule".

Set the criteria for your email rule and click "Save".

Your new rule will be displayed in your list of filters.

Q Create a Vacation Notice
Select the "Configuration" Icon to go to the configuration settings page.

Select "Email" then "Vacation Notice".

Set the criteria for your Vacation notice and click "Apply Changes".

Q View Email Quota
Select "Email" to view your quota.

Q Spam Folder
There is a spam folder within the mailbox to help filter out any inbound spam messages.
Please note spam email will be automatically deleted from the spam folder after 7 days.

Q Activate MFA on webmail
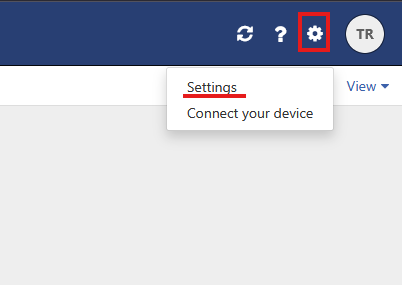
Login to webmail and click on the cog icon on the top right of your webmail interface and select settings.
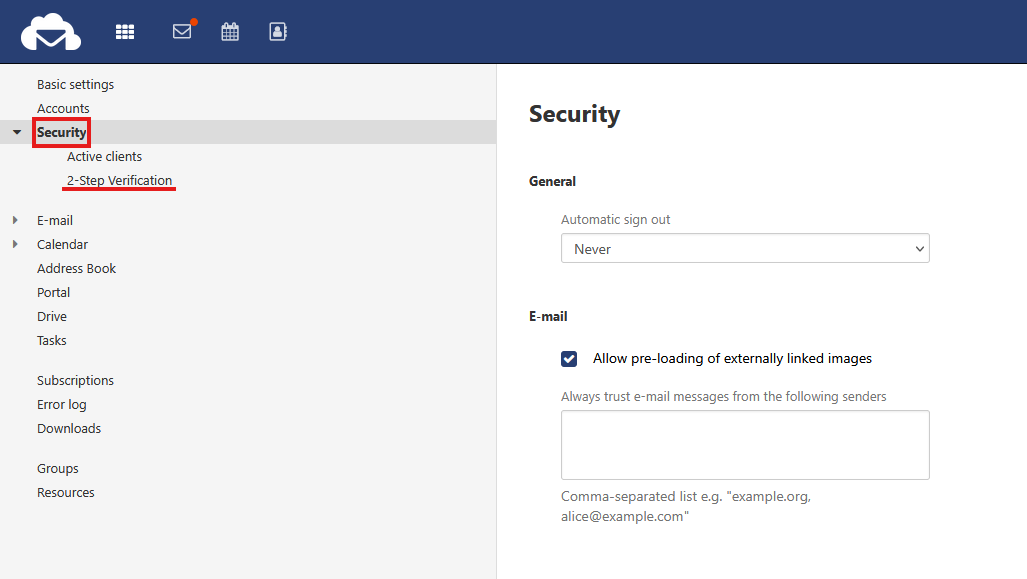
Within the settings page, click on the security option from the menu on the left and select 2-Step Verification.
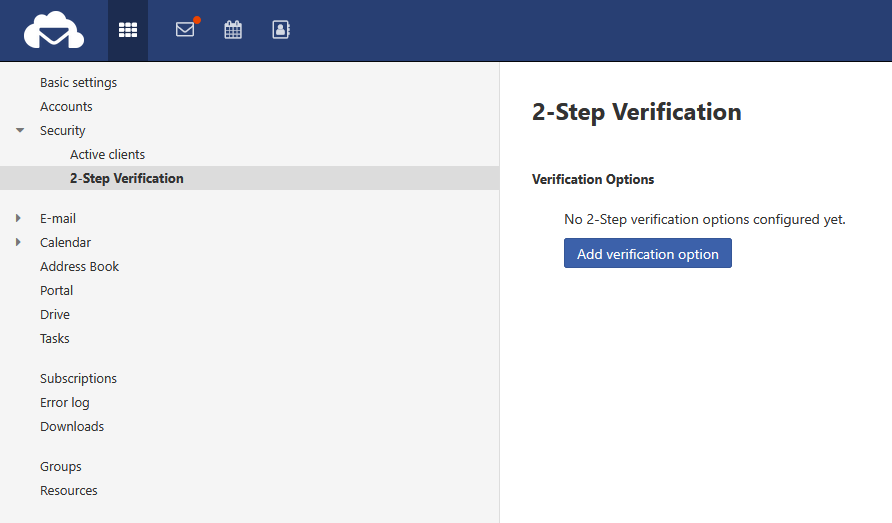
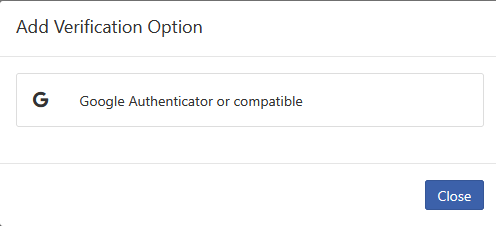
You should now see the option to set up multifactor authentication. Click Add verification option to continue.
Select Google Authenticator or compatible.
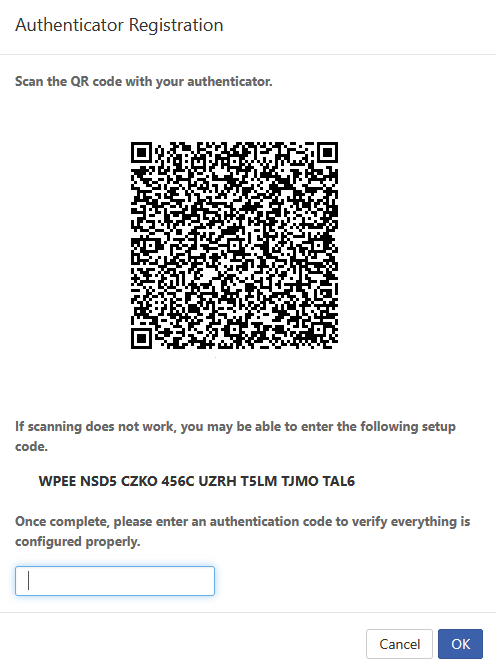
You will now be prompted to scan the QR code on screen using your chosen authenticator application from your mobile device. Once added, enter the one time password code displayed on your chosen authenticator and click OK.
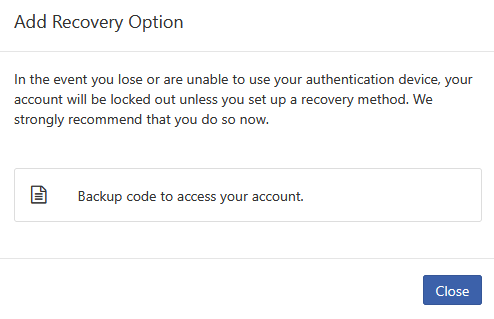
If successful you will now be prompted to download your unique recovery code to your device. Please make sure this is kept safe as it will allow you to access to the webmail in the absence of your mobile device.
Setup is now complete and you may now log out of webmail and log back in with MFA enabled.
How to Login with Multifactor Authentication
Once MFA has been enabled, the next time you login to webmail after entering your email address and password, you will then be prompted to enter the one time password from your authenticator application. Enter this and press next to Login.

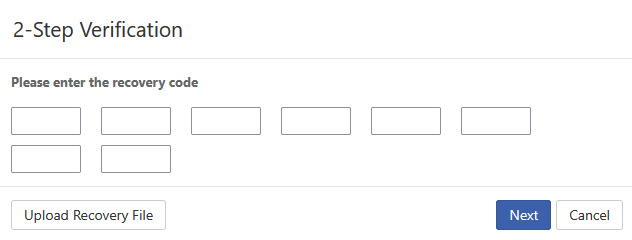
If you have lost your mobile device or are unable to access it, then you can use the I lost my device option. Here you will be prompted to enter the unique recovery code or upload the recovery file that you will have saved on the initial setup.