
OUTLOOK CONNECTOR
Q Download the Outlook Connector
1

Select the "Configuration" icon and select "Settings".
2
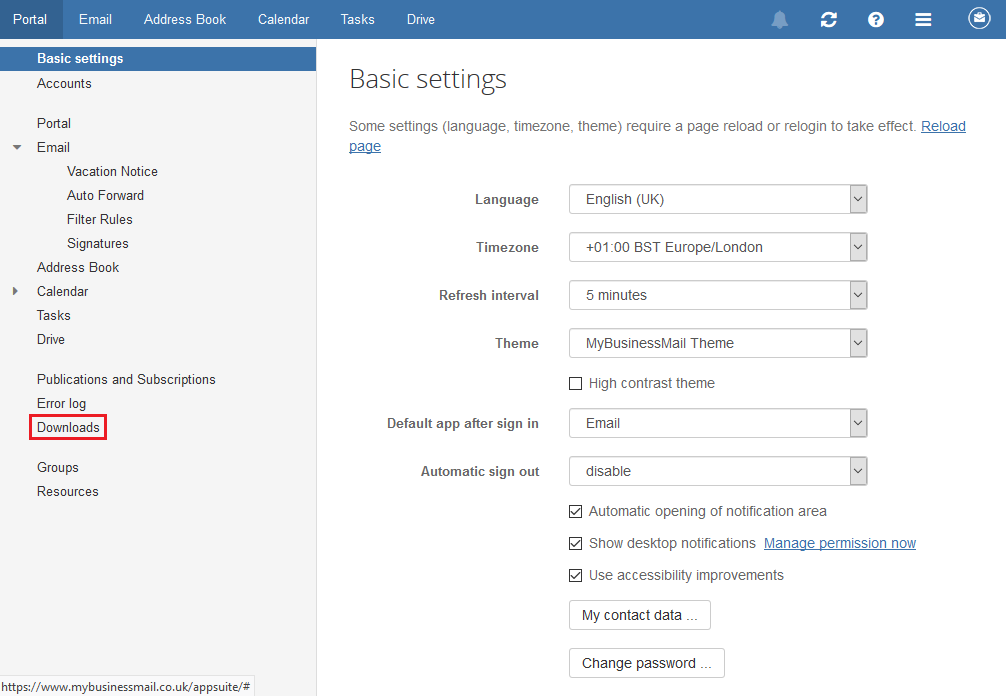
Click "Downloads"
3

Click "Download install file (for Windows)"
Q Install the Outlook Connector
1

Double click the file to run it when the download has completed
2

Confirm you wish to install the "Outlook Connector" click "Run".
3
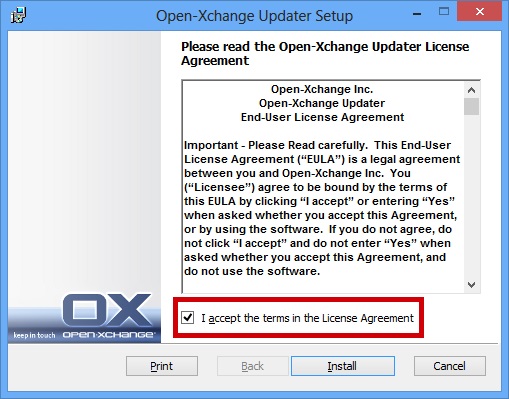
Accept the Licence Agreement and click "Install".
4

Click "Finish"
Q Connect to the Outlook Connector
1

Enter your email address and password, click the "Remember my Password" box and click OK
2
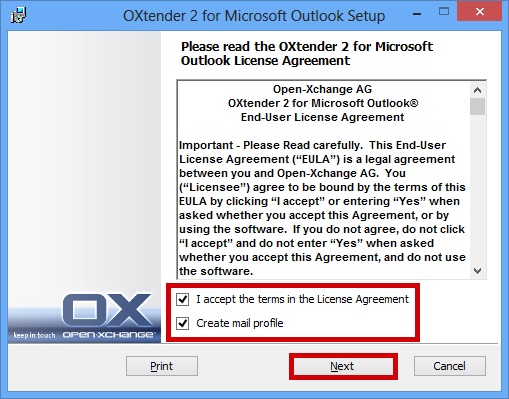
Accept the Licence Agreement, and create mail profile and click "Next".
3

Click "Install"
4

Click "Finish"
Q Launch the Outlook Connector
1
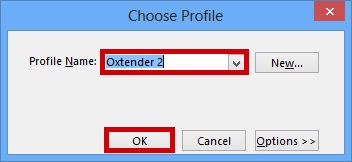
Load Outlook and select "Oxtender 2" Profile Name and click "OK"
2

Your Email, Folders and settings should synchronise form Webmail
Q Using the Outlook Connector Add Ins.
1
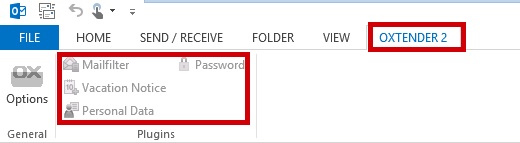
Select the "Oxtender 2" tab then select what you want to update