
TO SET UP EMAIL IN WINDOWS LIVE MAIL (POP)
Open Windows Live mail and select the Accounts tab at the top and then press the Email button:

Complete the details on the wizard that loads up, ensuring the Manually configure server settings for e-mail account option is selected. When done, press Next

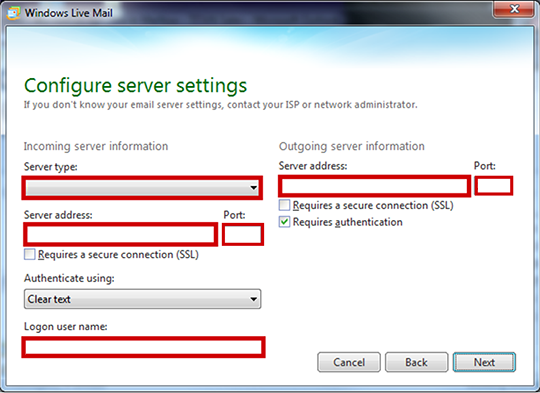
Complete the server Settings and click Next then Finish
Incoming Server Information |
|
|---|---|
| Server Type : | pop |
| Server Address : | pop.iomartmail.com |
| Port : | 110 |
| Logon Username : | Your email address or the username configured in your CP. |
Outgoing Server Information |
|
|---|---|
| Server Type : | smtp.iomartmail.com (ensure my outgoing server requires authentication is ticked) |
| Port : | 587 |
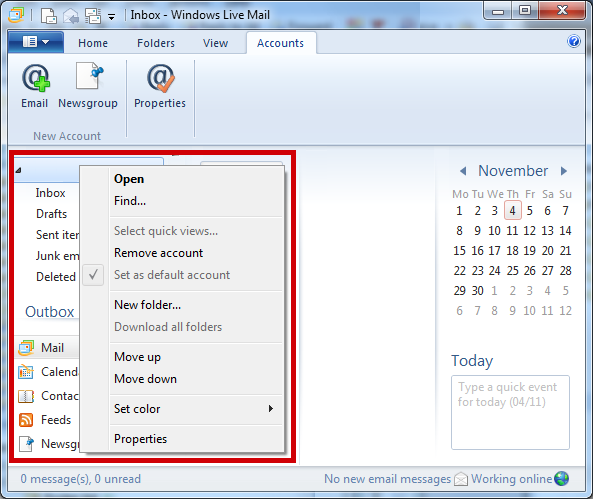
At this point, you will be able to receive emails, but not send. To change this, right click on your new email account and select Properties
On the Your Account Properties screen, select the Servers tab. Ensure the My server requires authentication option is selected and then click the Settings button

On the Outgoing Mail Server settings screen, select Log on using and then enter your email details, then click OK
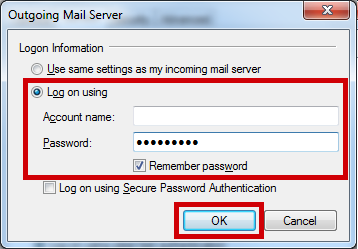
Click the OK on all screens to go back to the main Mail Screen
Still having trouble sending mail? You may need to change your SMTP Port - info on how to do this can be found Here